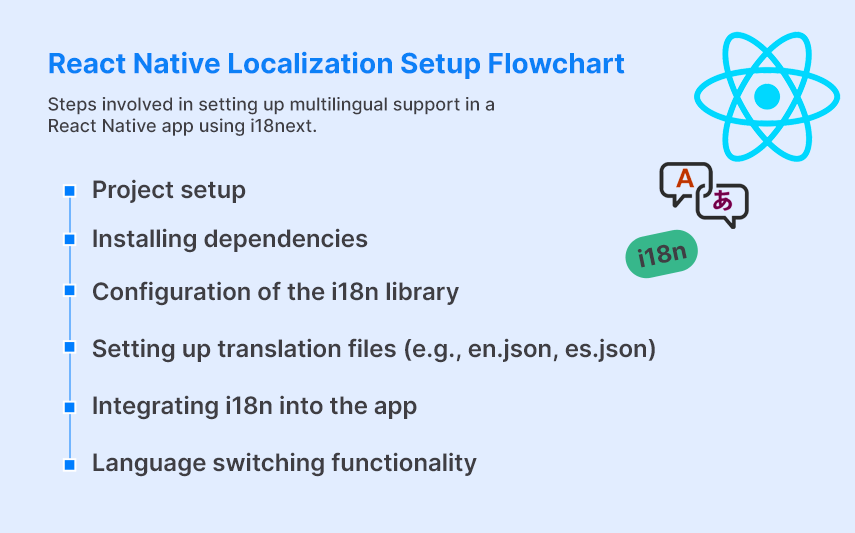
In today’s globalized world, integrating multilingual support in React Native is a must, not a choice. It offers crucial advantages, including expanding your user base, increasing engagement, meeting legal requirements, and gaining a competitive advantage. By making your app accessible to a wider and more diverse audience, you significantly boost your chances of achieving global success. This React Native internationalization tutorial will walk you through the process of adding multiple languages to React Native apps using i18next.

Let’s create a React Native app with localization support! We’ll use react-i18next for handling translations.

Step 1: Create a New React Native Project
Start by setting up a new React Native project:
npx @react-native-community/cli@latest init LocalizationSampleStep 2: Install React-i18next and i18next Dependencies
Install the essential packages for enabling React Native internationalization (i18n):
npm install react-i18next i18nextThis command installs two essential packages for enabling internationalization
(i18n) in React applications:
- react-i18next: The official React integration for i18n in React Native, offering components and hooks to implement i18n functionality.
- i18next: The core React Native i18n framework that handles translation logic and functionality.
Step 3: Configuring the i18n Library for Internationalization
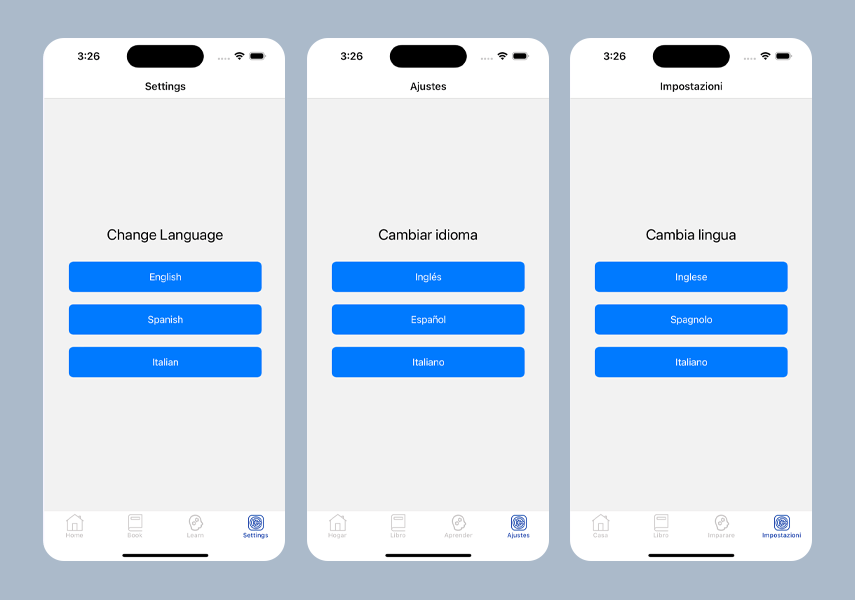
In this multilingual React Native app tutorial, we will support English, Spanish, and Italian. Let’s configure i18next for React Native localization.
- Create an i18n folder and add translation files en.json, es.json, and it.json for English, Spanish, and Italian.
- Create an i18next.ts file to configure React Native multi-language support setup. Add this file to the i18n folder:
import i18n from 'i18next';
import {initReactI18next} from 'react-i18next';
import english from './en.json';
import spanish from './es.json';
import italian from './it.json';

i18n.use(initReactI18next).init({
    initImmediate: false,
    resources: {
      en: {
        translation: english
      },
      es: {
        translation: spanish
      },
      it: {
        translation: italian
      }
    },
    lng: 'en', // default language
    fallbackLng: 'en',
    interpolation: {
      escapeValue: false
    }
  });
export default i18n;
The file above performs the following tasks:
- Initializes the i18next library with React integration.
- Imports the translation files (en.json, es.json, it.json).
- Associates the translations with their corresponding language codes (en, es, it).
- Sets the default and fallback languages, with English as the default in this case.
The en.json, es.json and it.json files are the translation resource files specifically for English, Spanish and Italian language content in your internationalization (i18n) setup.
en.json file:
{
  "change_language": "Change Language",
  "english": "English",
  "spanish": "Spanish",
  "italian": "Italian",
  "book": "Book",
  "home": "Home",
  "learn": "Learn",
  "settings": "Settings"
}
es.json file:
{
  "change_language": "Cambiar idioma",
  "english": "Inglés",
  "spanish": "Español",
  "italian": "Italiano",
  "book": "Libro",
  "home": "Hogar",
  "learn": "Aprender",
  "settings": "Ajustes"
}
it.json file:
{
  "change_language": "Cambia lingua",
  "english": "Inglese",
  "spanish": "Spagnolo",
  "italian": "Italiano",
  "book": "Libro",
  "home": "Casa",
  "learn": "Imparare",
  "settings": "Impostazioni"
}

Note: The language codes in the initialization should adhere to the ISO 639-1 standard. For instance, "en" for English, "es" for Spanish, and "it" for Italian, as demonstrated above.
Step 4: Create a String Constants File
This file acts as a central place to define and manage string constants used across your application. It stores the keys that correspond to the values in your translation files.
Note: The keys in en.json, es.json and it.json should match the values in string_constants.ts
export const StringConstants = {
    changeLanguage: "change_language",
    english: "english",
    spanish: "spanish",
    italian: "italian",
    book: "book",
    home: "home",
    learn: "learn",
    settings: "settings"
};
This file helps organize and maintain keys for translations.
Step 5: Import the i18next.ts file into the App.tsx file.
To initialize React Native i18n in your app, import the i18next.ts file into the App.tsx file:
import './src/i18n/i18next';- The import statement import './src/i18n/i18next'; is needed to initialize and load your internationalization (i18n) configuration when your app starts up.
- By importing it in App.tsx, which is typically the entry point of your React Native application, you ensure that all your i18n setup is done before any components try to use translations.
- If we don’t import this file, components that try to use translations (via hooks like useTranslation or the t function) would fail because i18next wouldn't be initialized.
By importing it into App.tsx, the app will load the React Native language support configuration as soon as the app starts.
Step 6: Using The useTranslation Hook And t Method From 'react-i18next'
To implement React Native localization in your app, use the useTranslation hook and t function for translations. Here's how to do it in the BookScreen component:
import React from 'react';
...
import { useTranslation } from 'react-i18next';
import {StringConstants} from '../constants/string_constants';

const BookScreen = () => {
  const { t } = useTranslation();
  return (
    <View style={styles.container}>
      <Text style={styles.text}>{t(StringConstants.book)}</Text>
    </View>
  );
};

...

export default BookScreen
Step 7: Using the changeLanguage function from 'react-i18next' to change the app language.
To allow users to switch languages, implement the changeLanguage function from react-i18next in the SettingsScreen:
import { useTranslation } from 'react-i18next';
import {StringConstants} from '../constants/string_constants';
const SettingsScreen = () => {
...

  const changeLanguage = async (language:string) => {
    try {
      await i18n.changeLanguage(language);
    } catch (error) {
      console.error('Error changing language:', error);
    }
  };

...
The above function invokes i18n.changeLanguage(language), a method provided by the i18next library, to change the application's current language to the specified language code.
This function allows users to switch languages (e.g., English, Spanish, Italian) dynamically. React Native language switching becomes seamless with this setup.

Summing It Up
By following this React Native internationalization tutorial, you've learned how to add multilingual support to React Native. We’ve used i18next to implement language support and React Native internationalization best practices. Now, you can easily handle multiple languages in React Native apps.
To download the source code for this sample React Native multilingual tutorial, click here.


 December 10, 2024


