Technological competence in software development means having adequate experience & knowledge of methodological traits like Development, QA, Beta, and Production. For these various concepts, there are multiple server URLs, app icons, and configurations.

It is very obvious that you have to deal with managing these scenarios during an application development lifecycle gradually. To manage these multiple environments during the development of an iOS project is one of the best practices that a developer can ingest.
In the process of software development and its lifecycle, you often come across juggling between these server URLs, enabling-disabling logging and other build settings that are needed to be changed from Development, Staging and Production environments.
For example, if your app needs to connect to the server which has three different base URLs
Development: www.dev.com
Staging: www.staging.com
Production: www.production.com
Changing these URL’s in your code every time for creating a build for a specific Environment can be tedious and error-prone.
So now we will have a look at how we can efficiently manage these Build variants, which change as per your Build Environment in Xcode.
Xcode Project
Follow the steps mentioned below for managing different Build settings for different Environment to your Existing or New Xcode Project.
Add Multiple Configuration
Select Project Navigator on Left Panel → Select Info
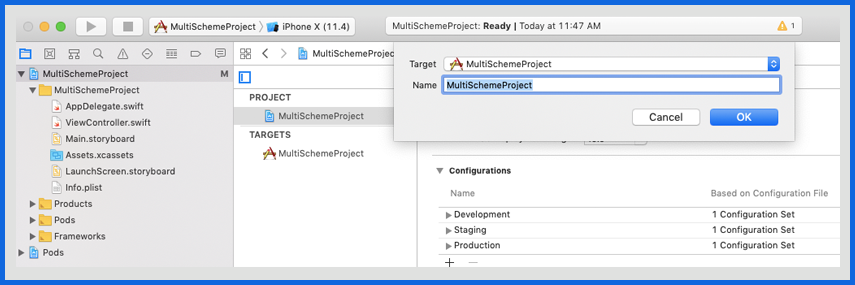
Select Configuration
- Rename Debug to Development
- Rename Release to Staging
- Click on + → Select Duplicate Staging Configuration


Add Multiple Config Files
Select Project Navigator on Left Panel → Add New File → Configuration Settings File
Add .xconfig file for every configuration created (Development, Staging, and Production)

Select Project Navigator on Left Panel → Select Info
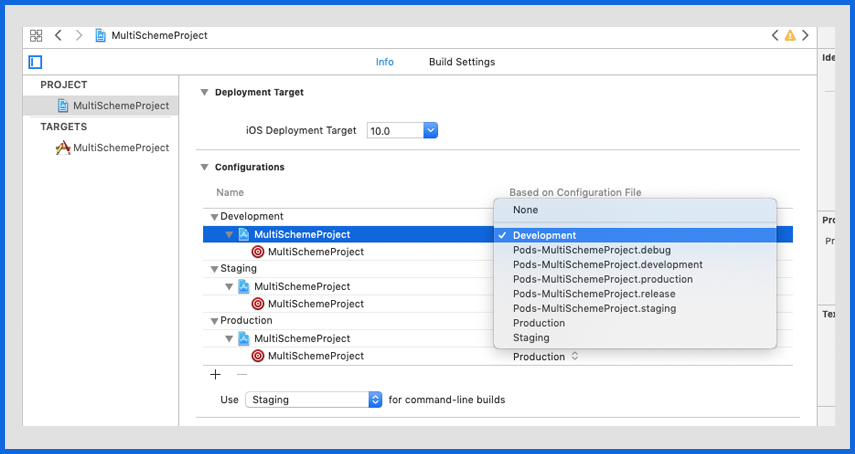
Select Configuration files for your Project (Refer to the screenshot below)

If you use Cocopods, you’ll have to delete the Podfile.lock, .xcworkspace file, and the Pods/ directory. Make sure you are not deleting the Podfile.
Go to Terminal run pod install
You will get some warnings after running the pod install command

To fix this problem: Open the recently created .xcworkspace file and attach the .xcconfig path for Cocoapods in your own .xcconfig files (Development, Staging, and Production).

Scheme Creation
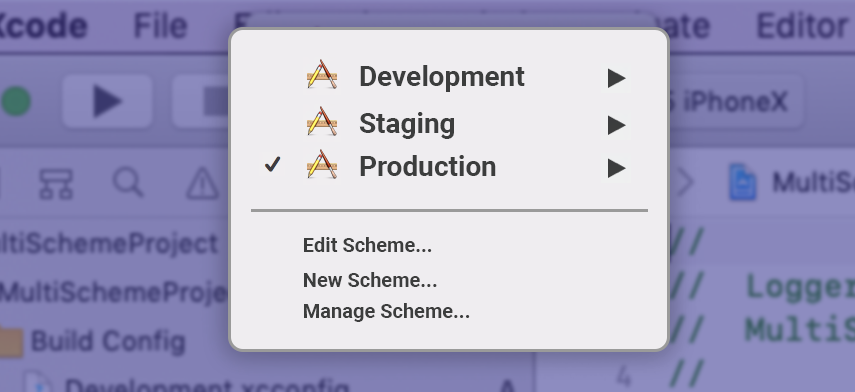
Select Project → New Scheme, create a scheme for your configurations (Development, Production, and Staging).
Delete existing schemes that were created by Xcode by default.


After adding all the schemes, your Manage Scheme should look like below. Apart from this also make sure you select Shared for all the schemes and under Container select ProjectName Workspace (This is required if your project uses Pods )

Make sure that you are targeting XCode project name. Structure your scheme to resemble your configuration.

Setting environment-specific keys
We need to declare environment-specific keys and values in the Info.p list file.
The values for these environment-specific keys need to be defined in respective .xconfig files.
Example:
base_url = www.dev.com
log_enabled = true


Accessing environment-specific keys

Accessing keys in code
Environment().configuration(Plist.loggingEnabled)
Environment().configuration(Plist.baseUrl)
Conclusion
Configuration is an essential part of most applications. By implementing an adaptable structure for providing configuration values, modifying them based on the environment, we can have a clean separation of code & configuration. It is always better if you spend a bit more time configuring these things at once rather than constantly revisiting & correcting the things in the future.
 August 30, 2019


