You don’t need to worry about adding device identifiers and updating provision profiles for beta testing app anymore. You can now use testflight and invite beta testers to test your app.
Let’s find how this works.
-
Firstly, you will need a membership for an iOS Developer Program.
-
Login to itunes connect.

-
Create an App on iTunes Connect and upload build
https://mobisoftinfotech.com/resources/mguide/ios-app-store-submission-guideline
Point to remember while uploading build:
- While creating “build” ensure that you use the App Store Provisioning Profile.
- For Beta Upload you don’t need to fill all the information in Version section. For e.g., Version Information, General App Information, Version Release, App Review Information in Version Section of iTunes Connects.
- Open App Store Provisioning Profile in Text Editor and check whether key “beta-reports-active” is set to – Yes.
- Once you upload the build from xcode, “Do Not Submit it for review from Version section of iTunes Connect.”
-
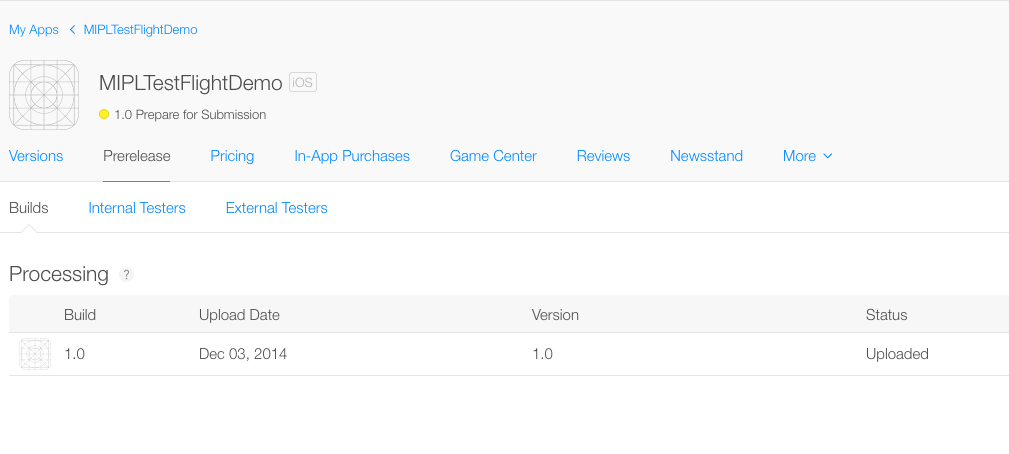
Select Prerelease in iTunes Connect; build will appear here. Initially build goes for processing before it become available for Beta tester.
Build in Processing mode.
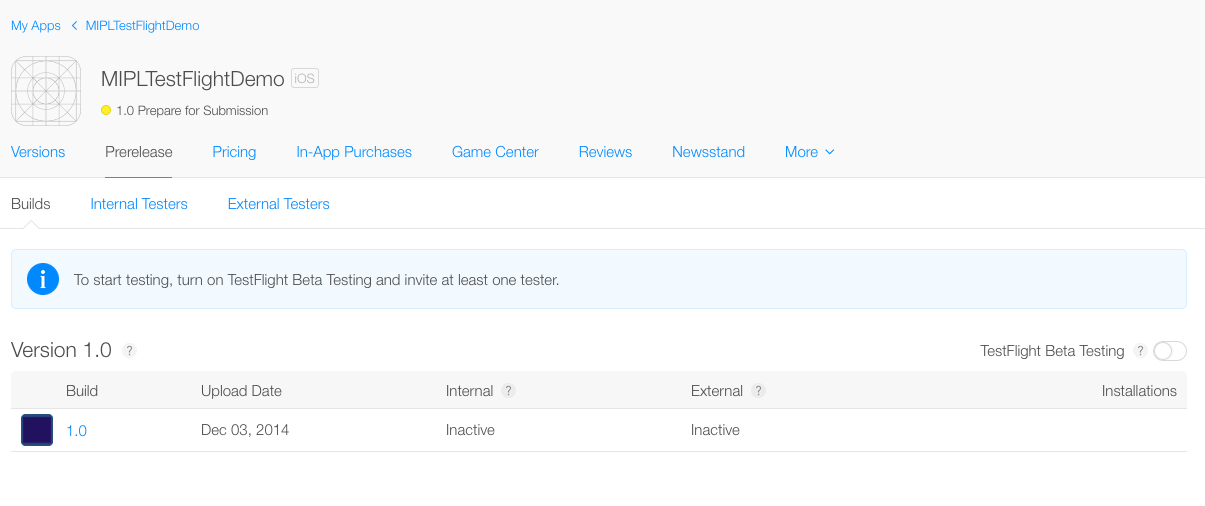
Build after it is available for beta testing.
-
There are 2 types of Beta Testers you can invite – Internal and External. First Switch ON the TestFlight Beta Testing Switch. Now let’s check the process of Inviting both types of testers.
-
- Internal Tester: Internal Testers are users invited by the Account Admin and are iTunes Connects users. Invitee with Technical or Admin role can test beta build. They automatically receive new builds in TestFlight. Build is valid for 30 days. A maximum of 25 users can be added to an account, and therefore Internal Tester cannot exceed 25.
- External Tester : External Testers can be invited only after the Beta App Review is completed by the Apple Beta Review Team. Build is valid for 30 days. A maximum of 1000 External Testers can be invited.
Beta builds can be downloaded via TestFlight app with iOS 8 Device.
Now let see the steps for inviting Internal Tester:
Select Users and Roles options:
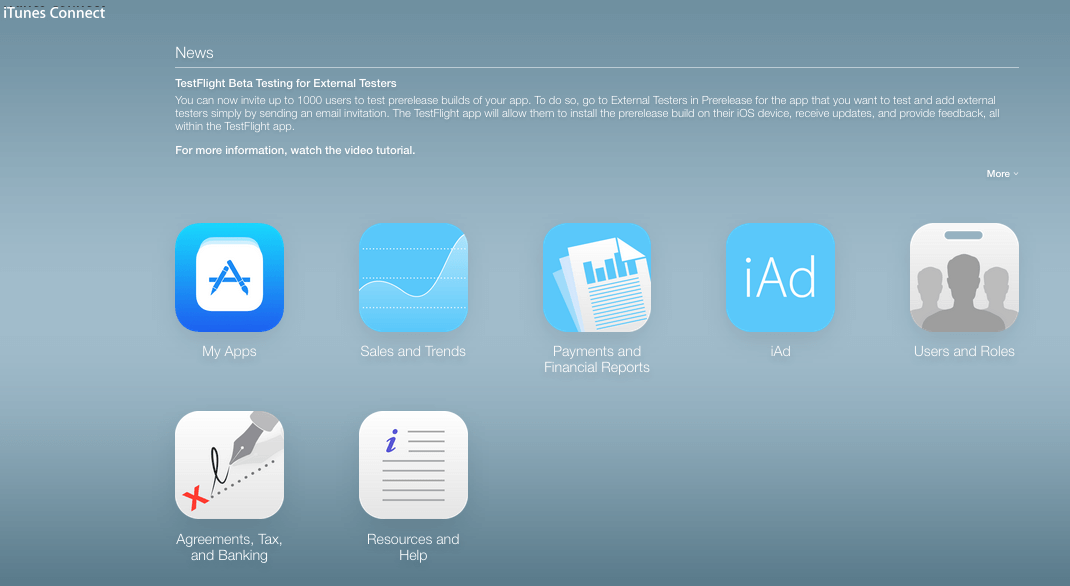
Create New User: Tab + add User detail and select role and Save.
Remember users with Technical & Admin roles are eligible for Internal beta tester.

Once a user is created verification mail is sent to the user account for Activation. Once the activation process is complete, the user will be listed in User and Roles section.
Select TestFlight Beta Testers tab from User and Roles section. Select user and save it.

Once done go to My App section in Pre Release tab and select Internal Tester. The selected Internal Tester will appear here. Select user and invite. After Invitation the User will receive an email to download the Beta App link.
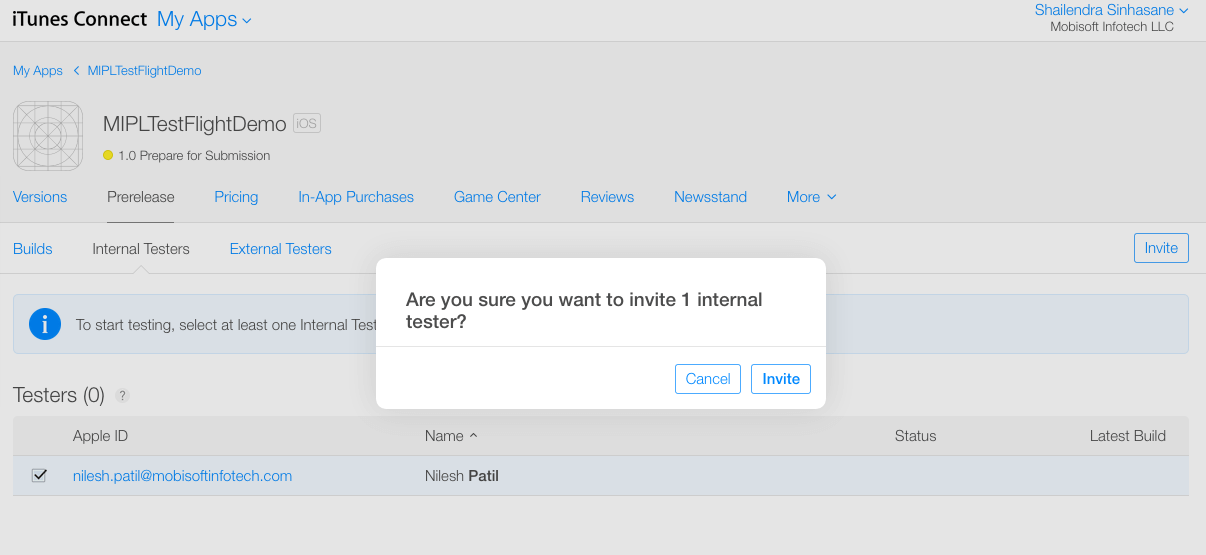
Steps for inviting Internal Testers:
Select External Testers in My App. Add new user.
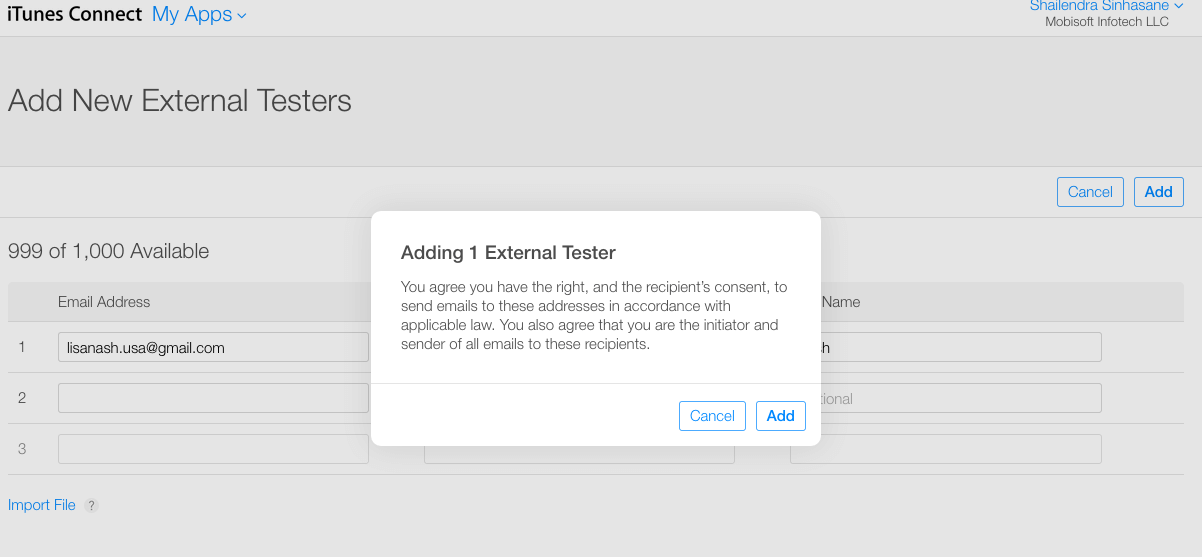
You cannot invite an External Tester unless the Beta App Info is added, and the App is submitted for Beta App Review.
Tap on “Submit For Beta App Review” in Pre Release -> Version Section. It will ask for Beta App Info; enter it and Submit.
Usually the Beta Review process takes 1-2 hrs to 1-2 days for approval, but it may take more time.
Once it is approved, go to the External tester section and invite. After Invitation the User will receive email to download the Beta App link.
Following are the limitations of Beta Testing
- You can select a maximum 25 internal testers per account with Admin or technical role.
- You can invite a maximum 1000 external testers
- Builds are available for a maximum of 30 days
- You can upload a new build to continue testing after 30 days
- Beta testing works only on iOS 8 or later
 December 5, 2014


