This blog is to familiarize you with the process of handling an event in an iPhone/iPod app.
We will create a demo project and walk you through the steps of handling an event, namely realizing a button click/touch on the iPhone/iPod screen.
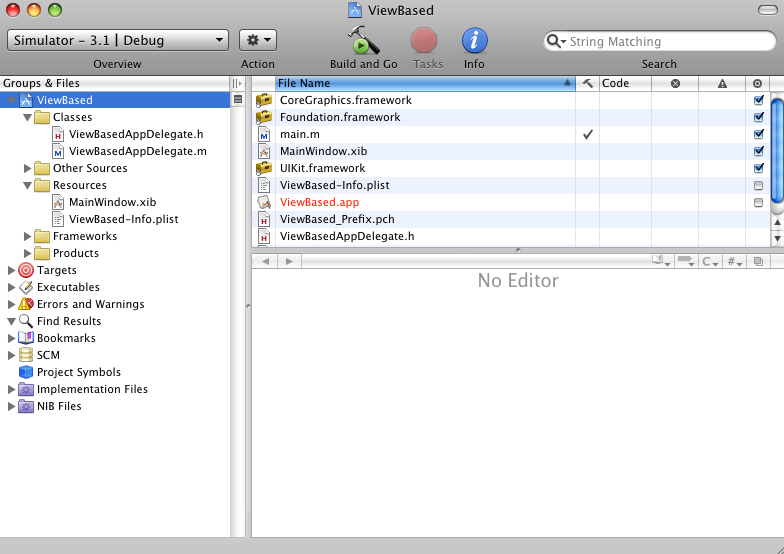
Start Xcode and create a View based Application and name it “Event HandlingForBlog”.
To begin with, append EventHandlingForBlogViewController.h file
[objc highlight="3,5,9"]
#import <UIKit/UIKit.h>
@interface EventHandlingForBlogViewController : UIViewController {
UIButton *btPrintM;
}
@property (nonatomic, retain) IBOutlet UIButton *btPrintM;

//This creates a property for your button declaring it as an outlet for use with view.

-(IBAction) printButtonPressed:(id) sender;
@end

[/objc]
printButtonPressed is the function to handle the event of user pressing the btPrintM button.
With this you’re done with the .h file.
Now, select the EventHandlingForBlogViewController.m file
[objc highlight="4,6,9,12,13,14"]
#import "EventHandlingForBlogViewController.h"

@implementation EventHandlingForBlogViewController
@synthesize btPrintM;
- (void)viewDidUnload {
self.btPrintM = nil;
}
- (void)dealloc {
[btPrintM release];
[super dealloc];
}
-(IBAction) printButtonPressed : (id) sender{
NSLog(@"    Jai Ho");
}
@end
[/objc]
NSLog is like printf statement of C language. It prints onto the console.
Now, first save your project(Command+S).
Double-click on “EventHanldlingViewController.xib”. This will launch the Interface Builder.
In the Interface Builder ‘s Library, scroll down to “Round Rect Button” and drag it onto your View Window at a suitable position.
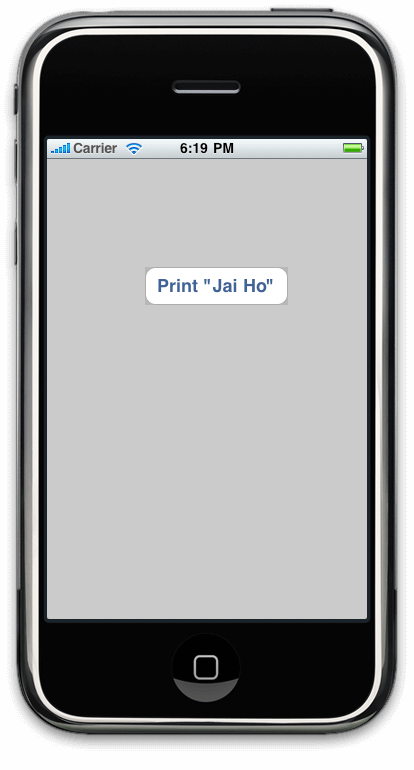
Double-click inside the button you dragged to edit its text, to say Print “Jai Ho”.
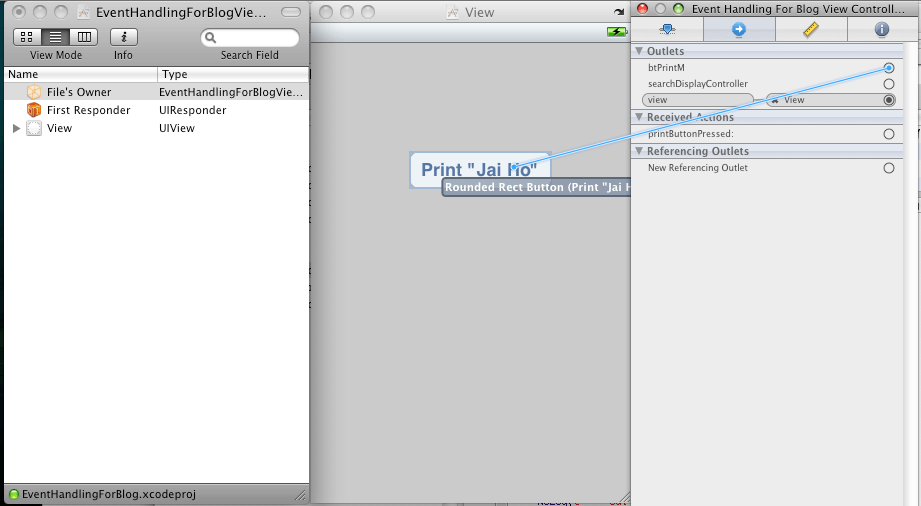
Now to link this button with that declared in the EventHanldlingForBlogViewController.h file, select the File Owner from Main Window and open its Connections Inspector(Command+2). Drag the “btPrintM” radio button from the connection inspector onto your button in View Window.
Linking Button
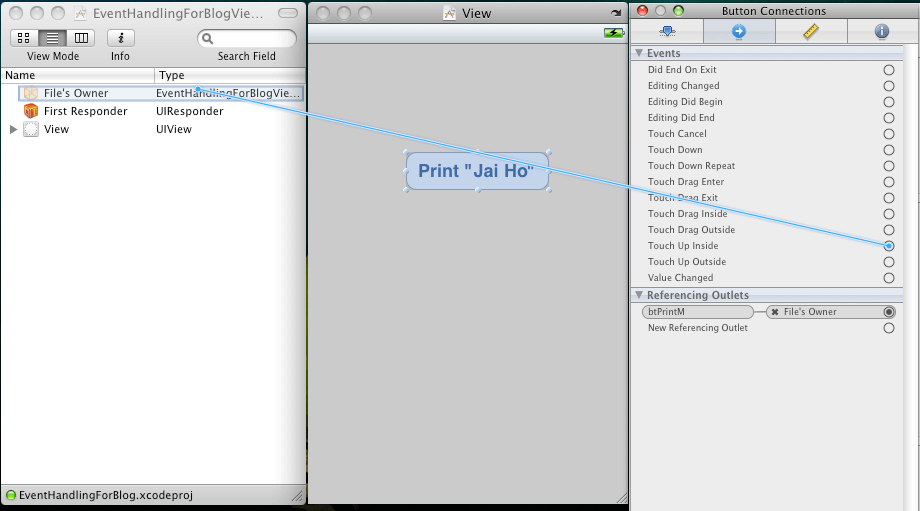
Now to link an event on your button to the function declared in EventHanldlingForBlogViewController.h file, select the button and press Command+2 or launch the Inspector Window (Shift+Command+I) and select Connections Inspector (the second tab). Now drag from the radio button named “Touch Up Inside” to the “File’s Owner” in the Main Window of the Interface Builder.
Touch Up Inside refers to the action of user touching the iPhone screen in the area highlighted by your button.
You can also select Touch Drag Inside/Outside, Touch Down, Touch Down Repeat, etc.
A drop-down will appear. Select “printButtonPressed” from it
Connecting to method
Connecting to method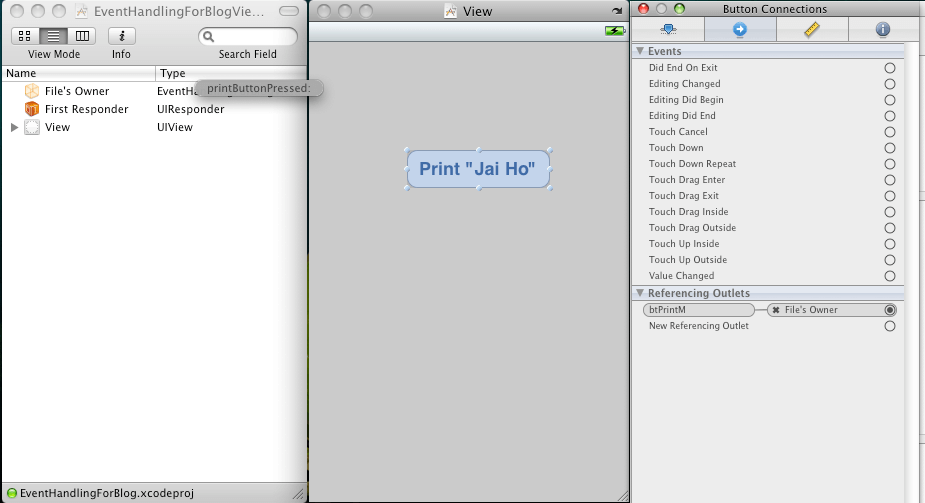
And thats it, you’ve completed your project. You can close the Interface Builder now and return to Xcode.
Now, save your project(Command+S).
To run this project, click on the “Build & Go” button or (command + R).
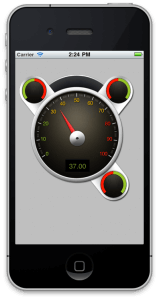
The iPhone simulator will launch the application.
Output
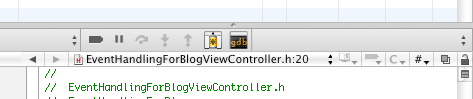
Go ahead, click on the button. To check whether it printed or not, launch the console from Xcode. The console button is in the centre with “gdb” written over it, as shown below. Alternatively, you can select Run -> Console or press Shift+Command+R.
Console button
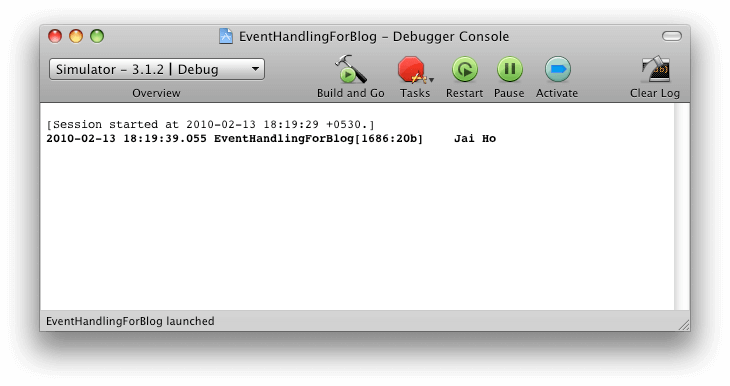
The console will display “Jai Ho”!!
Output on Console
You can download source code from here