Testing a mobile application is a challenging task. Given the number of smartphones available in the market, it becomes imperative to test our mobile application on maximum number of devices. However, testing an application on multiple devices is a cumbersome task. One solution to increasing the test coverage is to use virtual devices.
These virtual environments not only expand our testing coverage to more devices, but also are a quick and easy way to test small changes on the fly.
A. iOS:
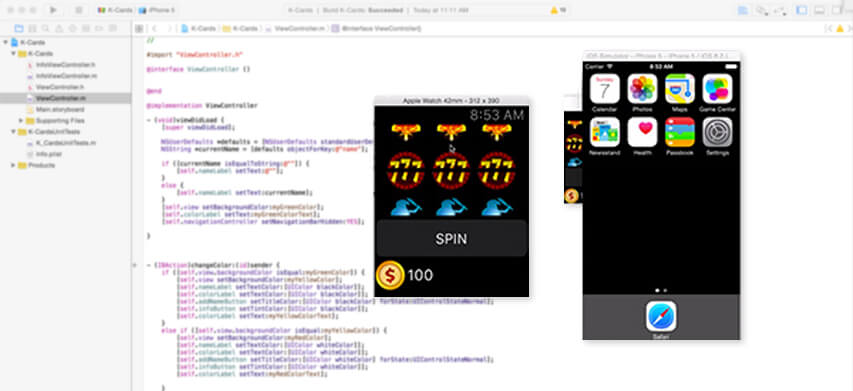
For iOS applications, the Xcode simulator enables us to test across different software and hardware combinations, but only from a Mac.
Note the following requirements:
i) Testing with the iOS Simulator requires a Macintosh computer and Xcode.
ii) The .app file of the application under test (AUT).
Steps To Create The .app File:
By default, any iOS project is built to run on arm64, armv7 and armv7s architectures which belong to mobile devices. To run it on a computer, we need to add i386 to Valid Architectures. Follow these steps in Xcode to create a .app file with i386 added to its Valid Architectures:
1. Open the project
2. Select the project in the left pane
3. Select the project name under targets
4. Click on Build Settings
5. Type “valid” in the Search bar at the top right corner
6. Click on “Valid architectures” in the search results
7. Add i386 to the existing architectures
8. Build the project
Now that we have the .app file, we need to install it on the Xcode simulator.
Steps To Install The .app File On The Xcode Simulator:
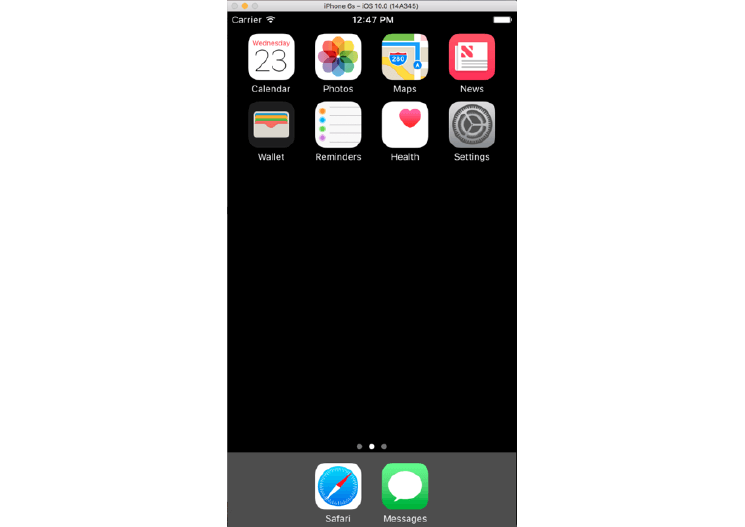
1. Launch the Xcode simulator
2. Open Terminal
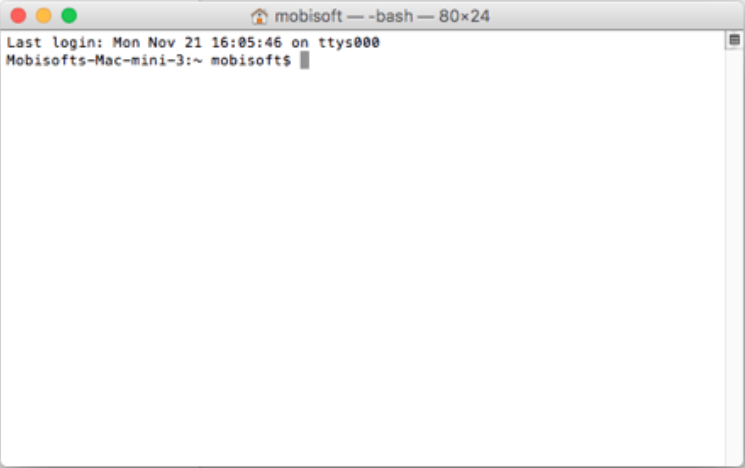
3. Type the following command: xcrun simctl install booted “location of the .app file” and press Enter
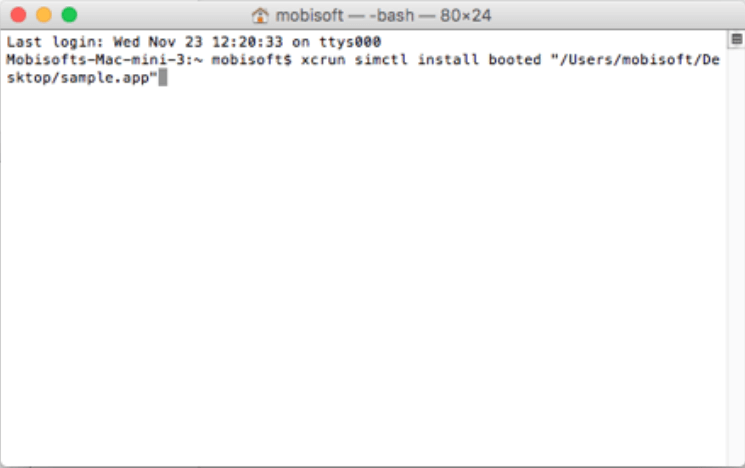
4. The application will be installed on the simulator
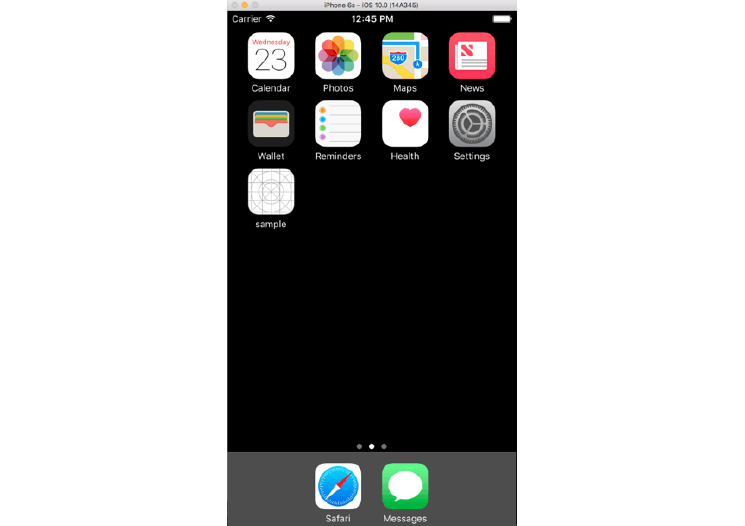
5. Launch the application
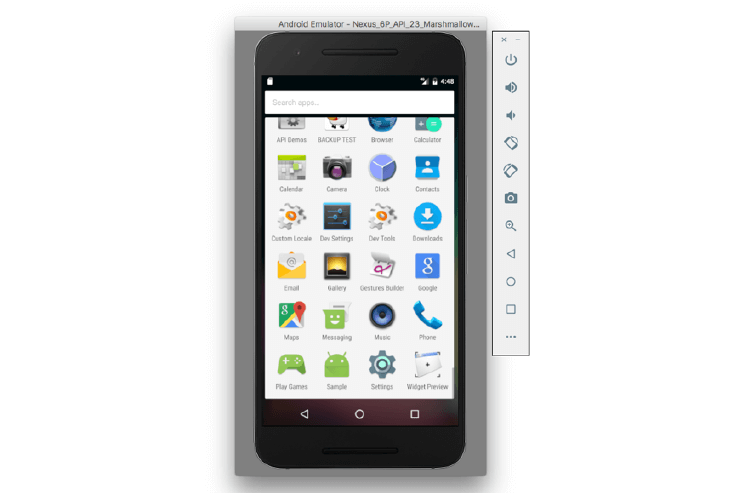
B. Android:
Android also provides an emulator. Luckily, this one is cross-platform. It can be used to prototype, develop and test Android apps without a hardware device. You can get started quickly with the predefined device types and even create custom device definitions and emulator skins.
While running your app on the emulator, you can access the network, data, call for other apps, play media files and notify the user by using the services of the Android platform. The controls of the emulator allow you to send incoming calls and text messages, specify network speed and status, provide custom location to the device, simulate fingerprint scans and battery properties.
The emulator makes use of an Android Virtual Device (AVD) configuration to determine the behavior of the simulated device. AVDs let you customize hardware specifications of the emulated devices and allow you to create different configurations to test various Android platforms and hardware permutations.
Requirements:
1. Android Studio
2. AVD
3. APK file of the Application Under Test (AUT)
Follow these steps to create an AVD:
1. In Android Studio, select Tools > Android > AVD Manager.
2. Click AVD Manager in the toolbar.
3. From the Your Virtual Devices page of the AVD Manager, click Create Virtual Device.
4. Select a hardware profile, and then click Next.
5. Select the system image for a particular API level, and then click Next.
6. Change AVD properties as needed, and then click Finish.
7. The new AVD appears in the Your Virtual Devices page or the Select Deployment Target dialog.
Follow these steps to generate the APK file:
1. Go to Build -> Build APK in Android Studio.
2. Wait until APK generated successfully message is displayed.
3. Click on Reveal in Finder (Show in Explorer) to see the APK file.
Steps to install the APK file on the Android Studio emulator:
1. Launch the Android emulator
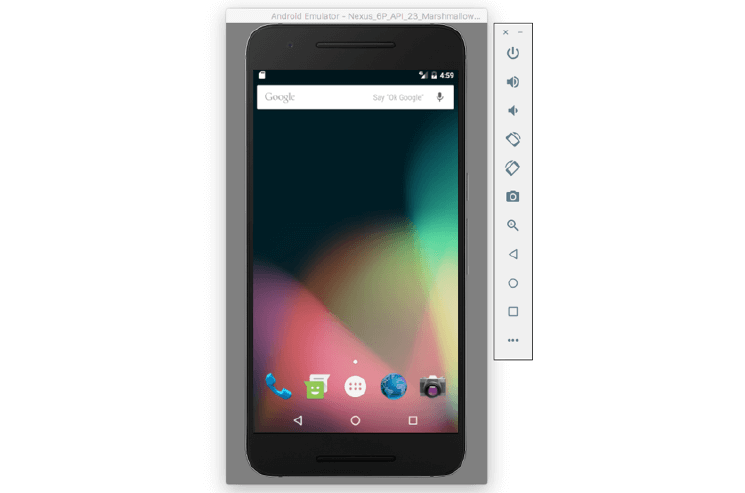
2. Drag and drop the .apk file in the Android emulator window
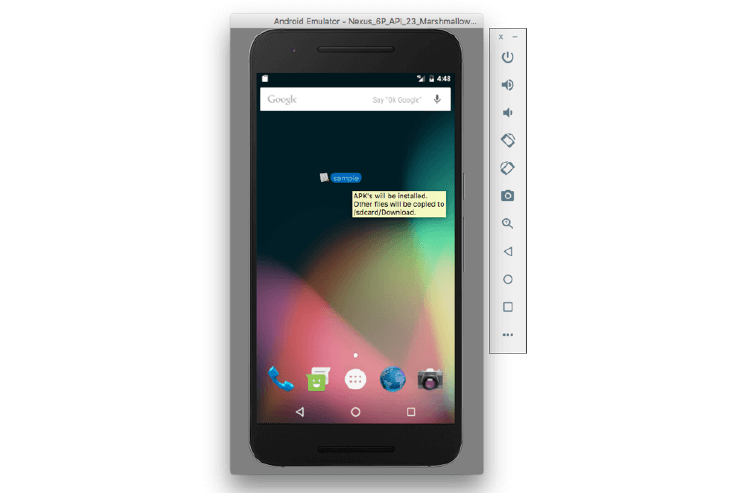
3. The application will be installed on the emulator
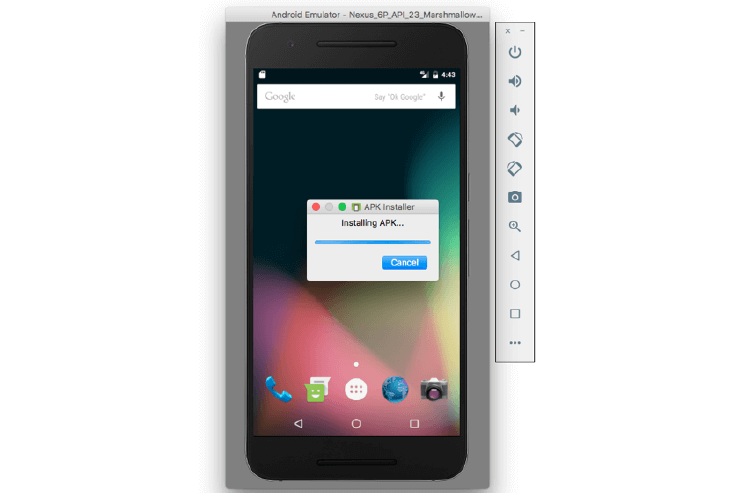
4. Launch the application
Drawbacks Of Simulator/Emulator Testing:
While the virtual devices have many advantages over real devices, we need to take a look at some of the drawbacks as well:
1. Performance of the app on the emulator depends on the processing power of the PC running the emulator. Simulators/emulators use PC hardware and memory which tend to be far superior to the real devices, resulting in unrealistically good or bad performance.
2. While real devices are connected to the Internet via the radio interface, emulators use a completely different network environment. Hence, we cannot test network related events and different network technologies.
3. The emulators/simulators are not able to simulate the incoming interrupts for SMS and incoming calls.
4. Emulators typically use a plain vanilla version of OS. So the emulators are not updated to reflect new devices available in the market.
5. Some features like push notifications cannot be tested on iOS simulators.
Conclusion:
We have seen that virtual devices work well for designing, prototyping and testing mobile applications during the initial stages of development. Testing the application on a virtual device is very useful but it should never replace real device testing. A major part of the mobile testing should be performed on real devices before the application is released for end users. A good approach is to use a combination of both, simulator testing during the initial stages and real device testing during the late stages of application development.
By Jaideep Dhumal
QA Engineer